Before installing the Alexa Widget on your blog you should register your blog to Alexa. Easy to please follow the instructions below.
How to List of blogs to Alexa.com
- Visit www.alexa.com
- Please register (create an account) or directly log in if you already have an account Alexa
- Open your email to confirm your account
- After confirmation see the "Home" menu Alexa. Enter your blog URL in column (Empty box). Then click Search "(see picture below)
- Then click "Get Details"
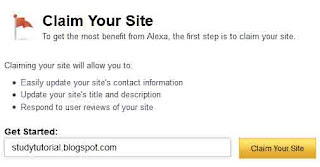
- Please Claim your site first, see the menu on the right side to claim
- Click the "Edit site"
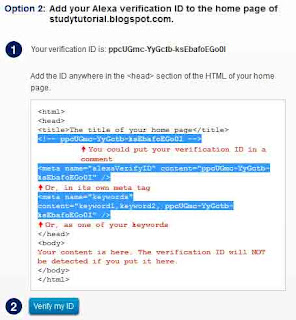
- Free click SIGN UP then you will see there are 2 options to verify the blog / web. Please select the second option by entering the Alexa verification ID into your blog html template. In the second option there are 3 options meta tag code as shown below
- Copy one of the Tag Verification code and paste it into the html of your blog template between <head> ... </ head> or under <head>
- Click Save template
- Go back to where you got that tag meta code and then click Verify my ID to do Verifykasi ID
- If the installation of the meta tag correctly then there will be a confirmation that you successfully claim your blog
How to Install Alexa Widget Blog
- Visit http://www.alexa.com/siteowners/tools
- Select the menu Alexa Site Widgets
- Next select the shape you want the widget and enter your blog url and click Build Widget
- Select the size of the widget you want to install to your blog.
- Copy the html code provided in the widget and paste into your blog. Paste the html code in the gadget Html / Javascript blog.
- Completed


